Before you begin
Basics
DSharp Studio must have a valid license file in its bin folder to work. The license defines what features will be available.
The full DSharp Studio software is furthermore tied to a specific target, while DSharp Studio Modeler can be used without any target restrictions. The target is typically either your own organization’s Data warehouse or the Data warehouse you are building for your customer, and the target information, if applicable to your license, is included in the license file.
Installation
To install the DSharp Studio software on your computer, run the installation package that is downloaded.
The default installation target directory is within the current user’s profile (CURRENTUSER\AppData\Roaming\DSharp\DSharp Studio\). If you have installed the software previously using the installer, you can choose to either upgrade your existing installation or create a new installation that will co-exist on your drive alongside previous versions. You may want to have parallel installations if you are working with multiple customer solutions and not all of them will immediately be updated to the current version. Upgrading the version in a team situation is usually the decision of the project manager or similar.
You should run the installation program with the Run as Administrator command, if possible. Some installation operations (overwriting executable files, creating subdirectories) may be dependent on the credentials used when installing.
To be on the safe side, only uninstall old versions once all projects you are working on have been upgraded beyond that version.
License Agreement
You will need to agree to the conditions of the license agreement when running the application for the first time.
License Access
The required license file is distributed to the client by the DSharp License Server cloud service, which the client queries on startup. With exception of floating licences, the licenses are personal, and after each new installation to a new location (same or different computer) there is a one-time authentication process based on the user’s email address. Each user may have several valid licenses assigned to them on the server, for use with different customer projects and targets.
If the email address used during the authentication process is not registered on the License Server, or there are no active licenses registered to the authenticated email address, DSharp Studio will not work. If this happens, contact your DSharp Administrator / DSharp Development Support.
If there is no internet connection, DSharp Studio will use the license file(s) acquired during the last successful connection to the License Server for a limited time, so occasional internet connection problems will not stop DSharp Studio from working.
Post-Installation Steps to Get DSharp Studio Up & Running
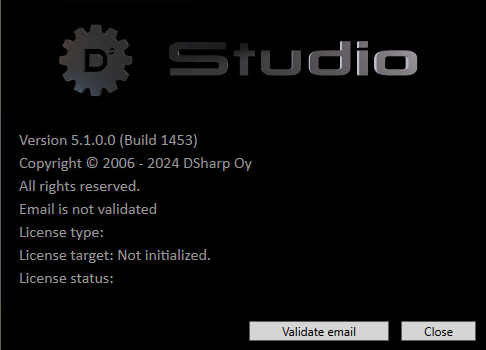
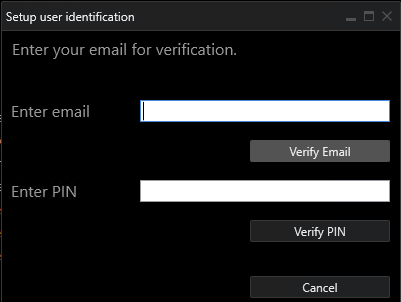
When running DSharp Studio the first time you need to authenticate yourself against the License Server. Start the authentication process by clicking the Validate email button.
Then write your email address and press Verify email. An email with a one-time PIN code is sent to the provided email address. Note: this requires the email address to be registered on the License Server. Finally, copy the PIN code to the next step and press Verify PIN.
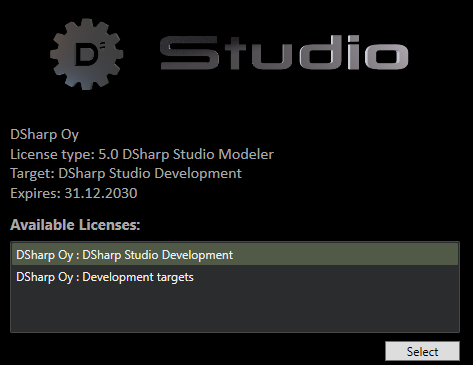
After successful verification, DSharp Studio will start, and you get to select from available licenses. However, if there are no licenses available to you, you will only get to the About DSharp Studio information box stating this fact. In this case, contact your DSharp Administrator to get yourself a valid license.
If there is only one valid license registered to you on the License Server, DSharp Studio activates that license and starts up. In case there are several licenses available to you, you will be provided with a list of licenses to select from. Select one of the available licenses to proceed.
In the case of the full DSharp Studio, be careful to select the license that corresponds to the target that you will be working on.
After selecting the license, the application starts up and you can start using it.