Basics
Mapping the source data to elements in the Conceptual model is the single most important task to get right when building a BDP using D♯ Engine. Together with other metadata in the model, the mappings provide the “missing link” between the source and destination table structures, as they can’t be generated from the Conceptual model alone. They define the per-source rules for transforming the source data into the final Data Vault 2.0 structure that can contain data as defined by the Conceptual model.
The mapping is implemented using simple .csv text files that map a source table’s column to a property (attribute or single-cardinality reference) of a class. The mapping also provides additional information such as Primary Key and Foreign Key information about the source data (which may not exist in any other documentation within the organisation) as well as other details that shape the implementation.
The contents of the mapping file is described here.
The Process
The most efficient way to work is to create the mappings after the corresponding classes have been modelled into the Conceptual model. It is recommended to use D♯ Engine’s internal Mapping Editor, but you can also build the mappings completely manually, outside D♯ Engine, using an editor like OpenOffice Calc.
Let’s have a look at the D♯ Engine way.
Locate Source Data
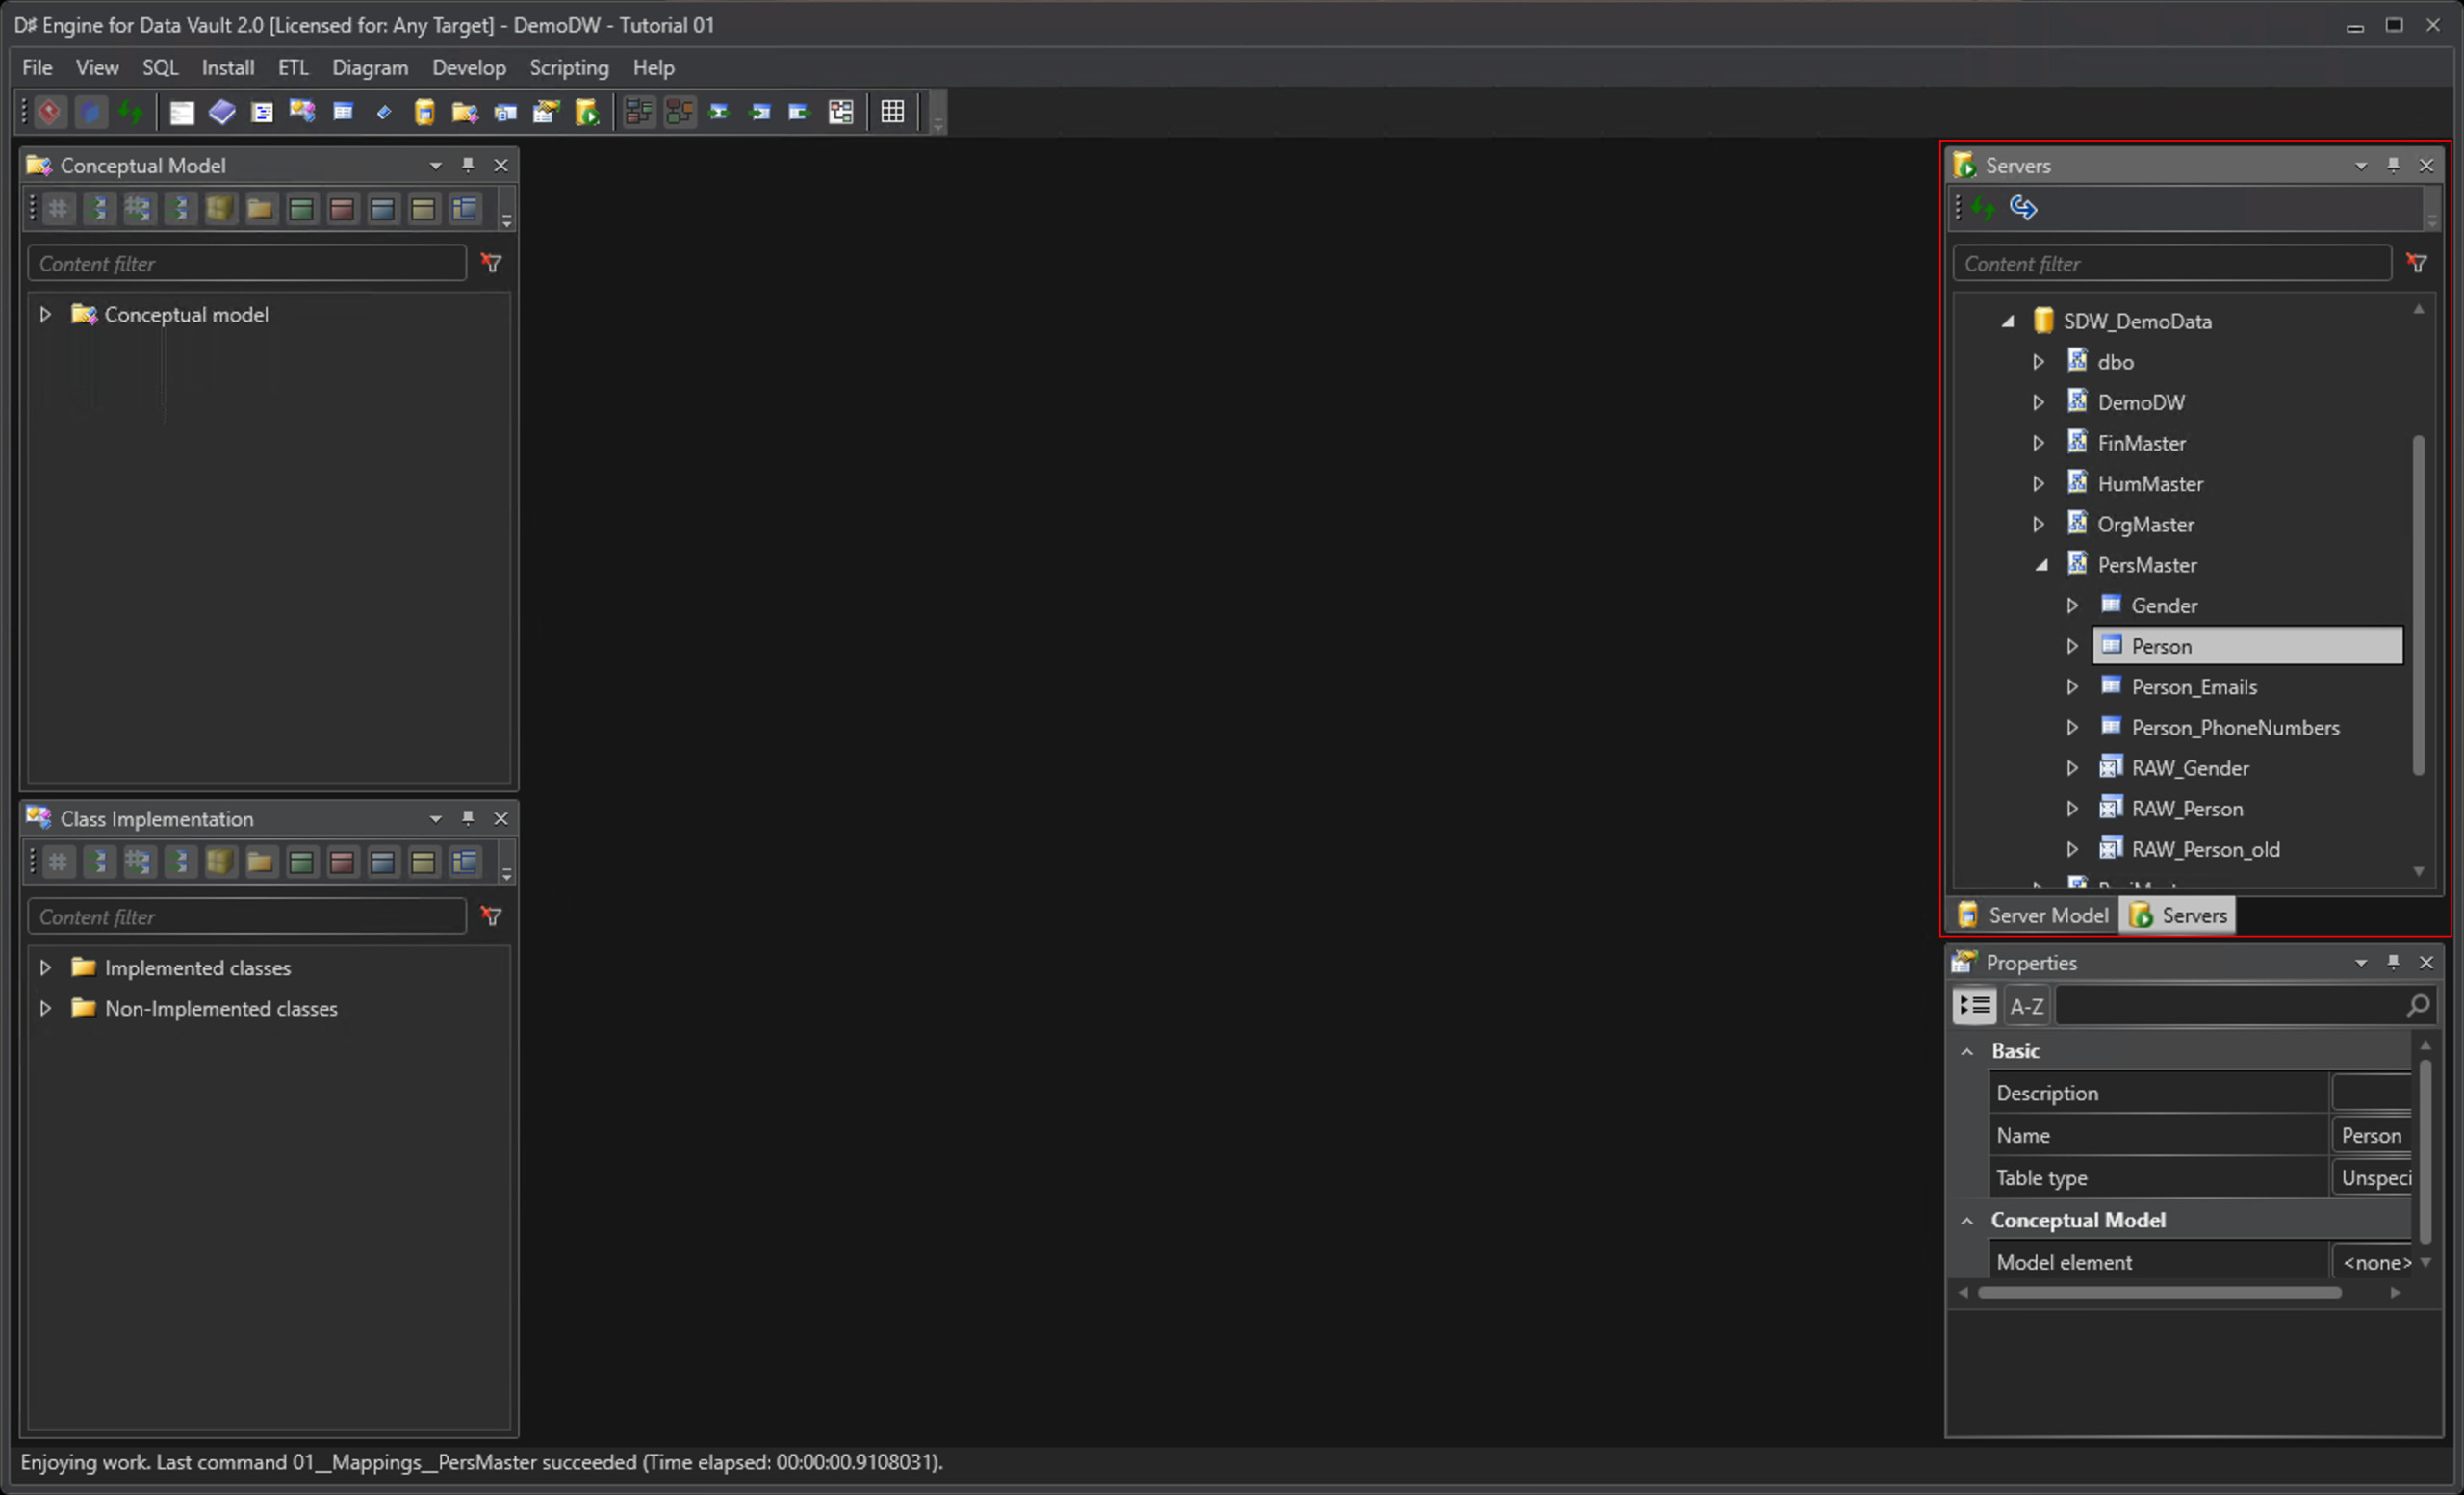
Use the D♯ Engine Servers pane to browse the database that has the source tables you want to process. If you don’t have database level access to it, it is highly recommended that you first import the data (or just the structure) into the Staging Area to have access to it for mapping, and ultimately loading, purposes.
-
- See here how to configure Database servers in Visual Paradigm
Browse Source Data
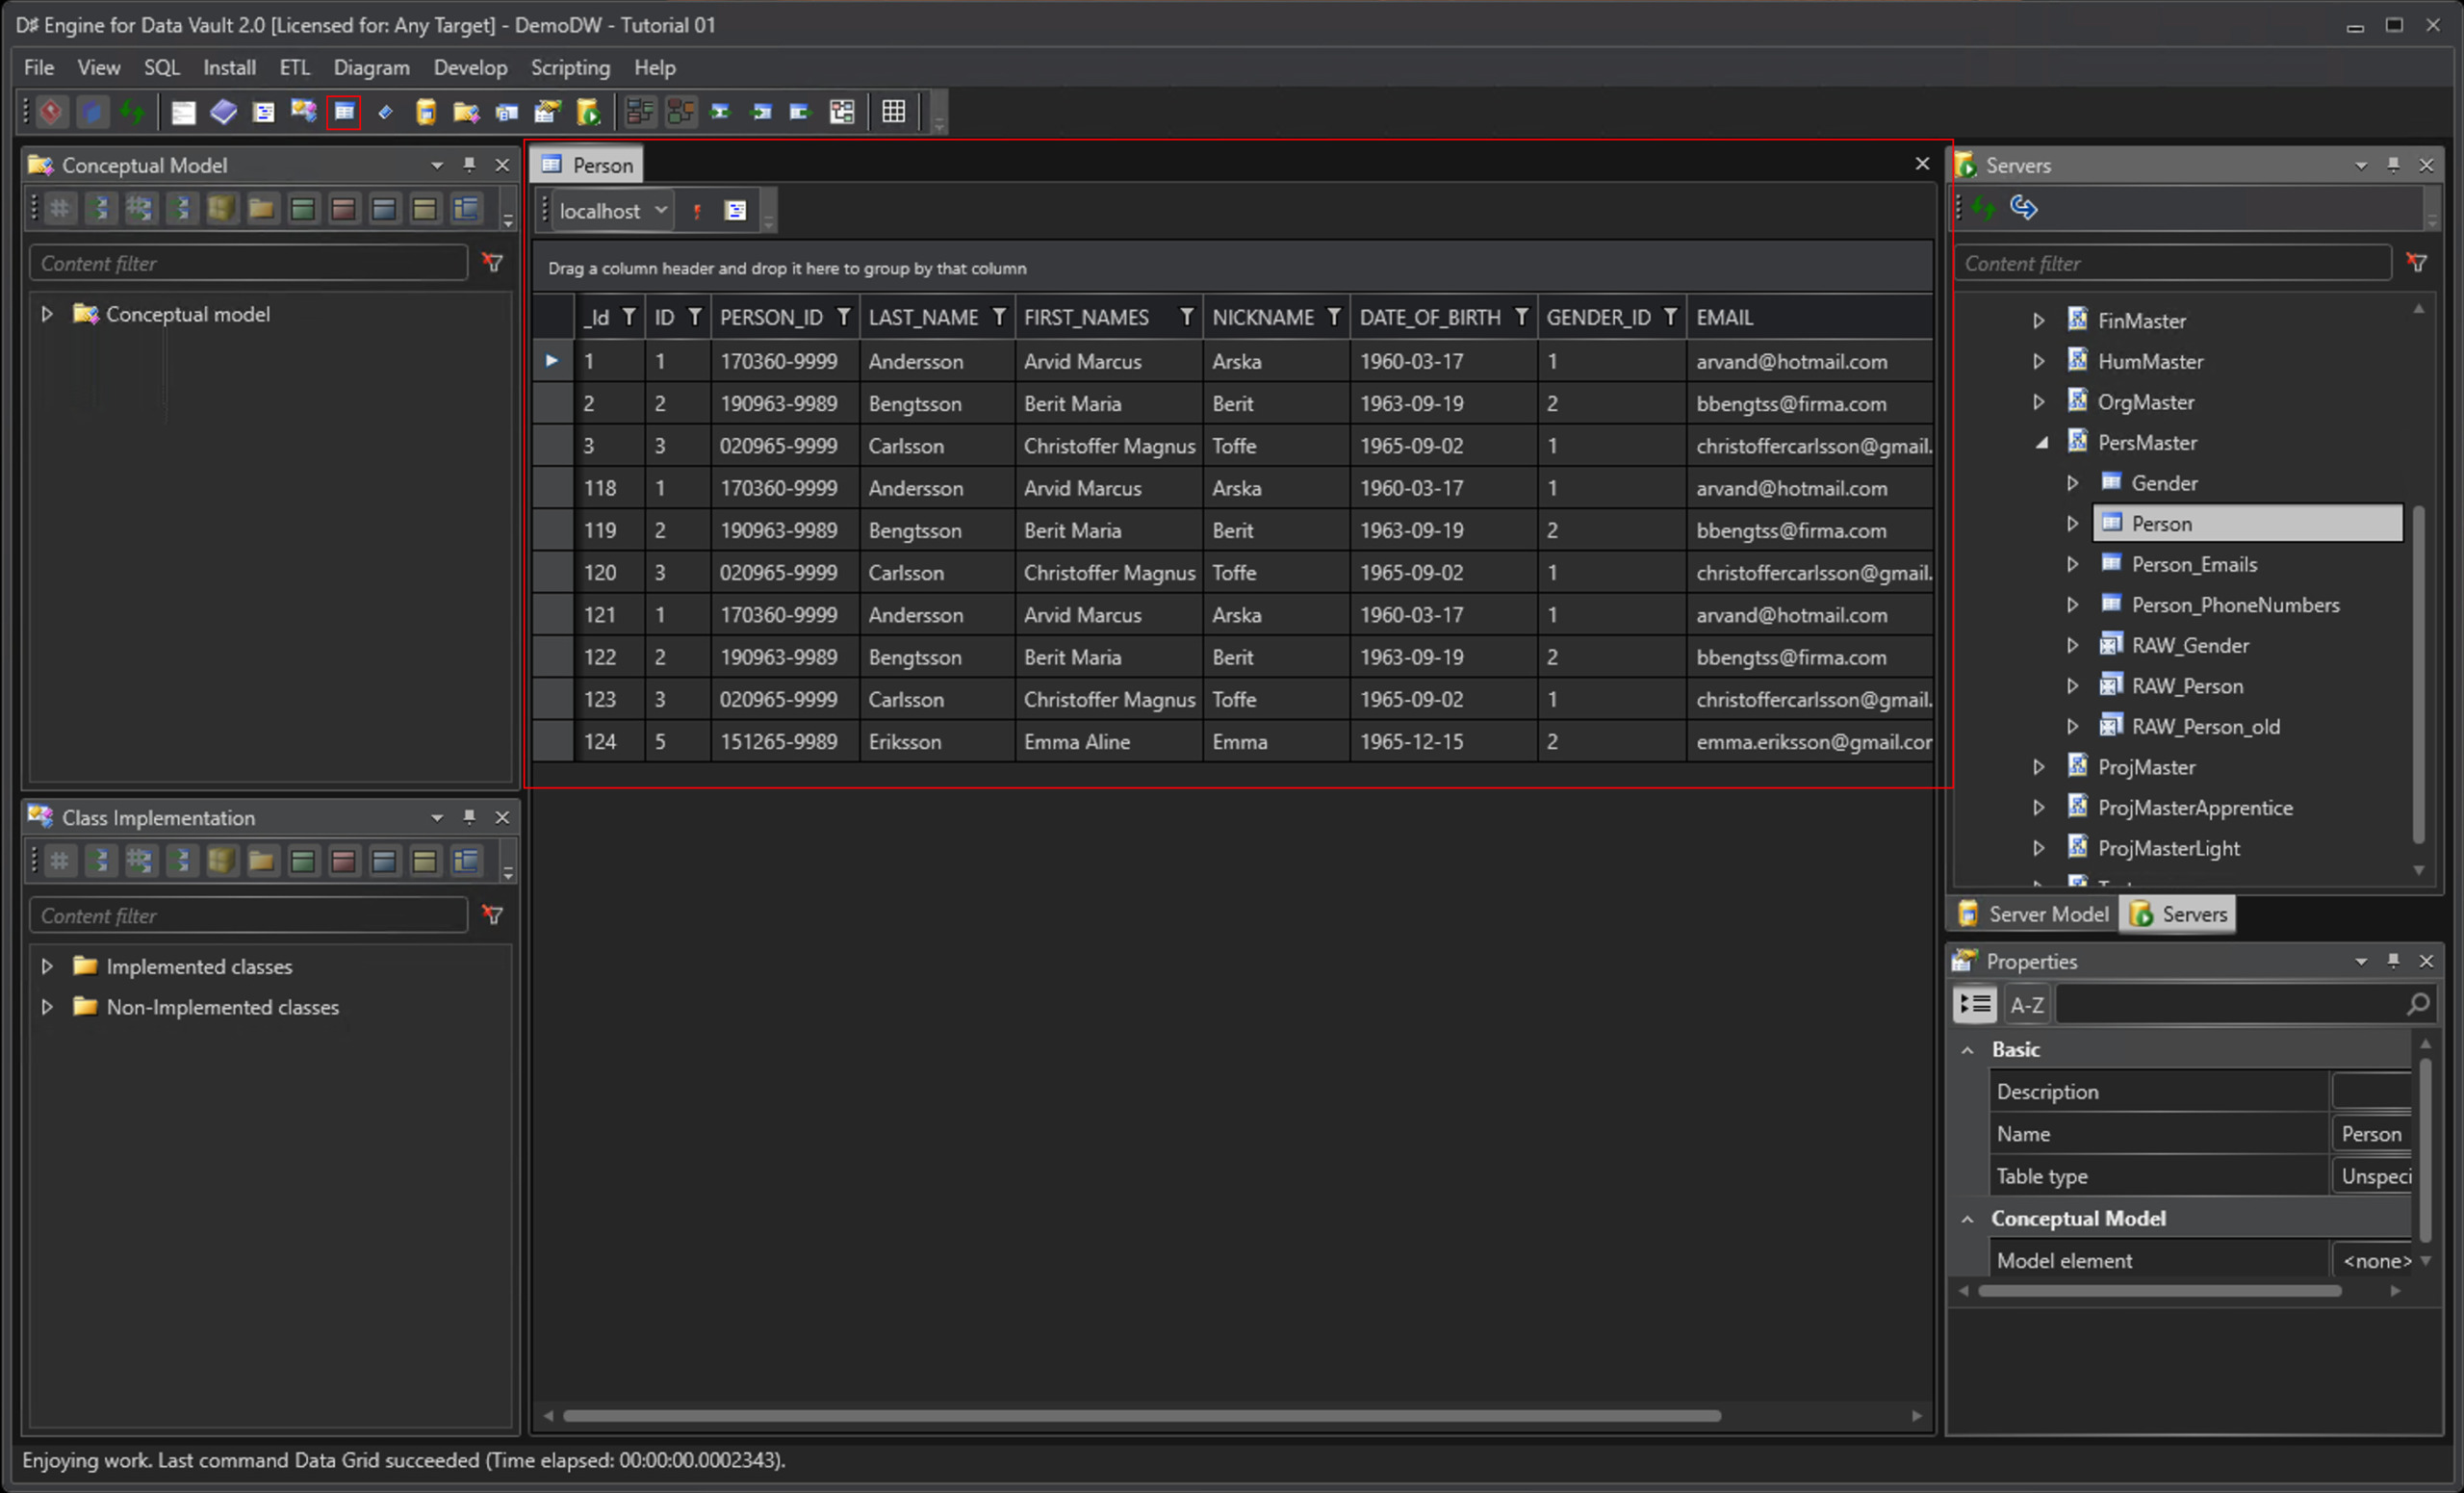
Open the Data Grid and click the candidate tables in the Servers pane to browse the data.
Open / Create Mapping File
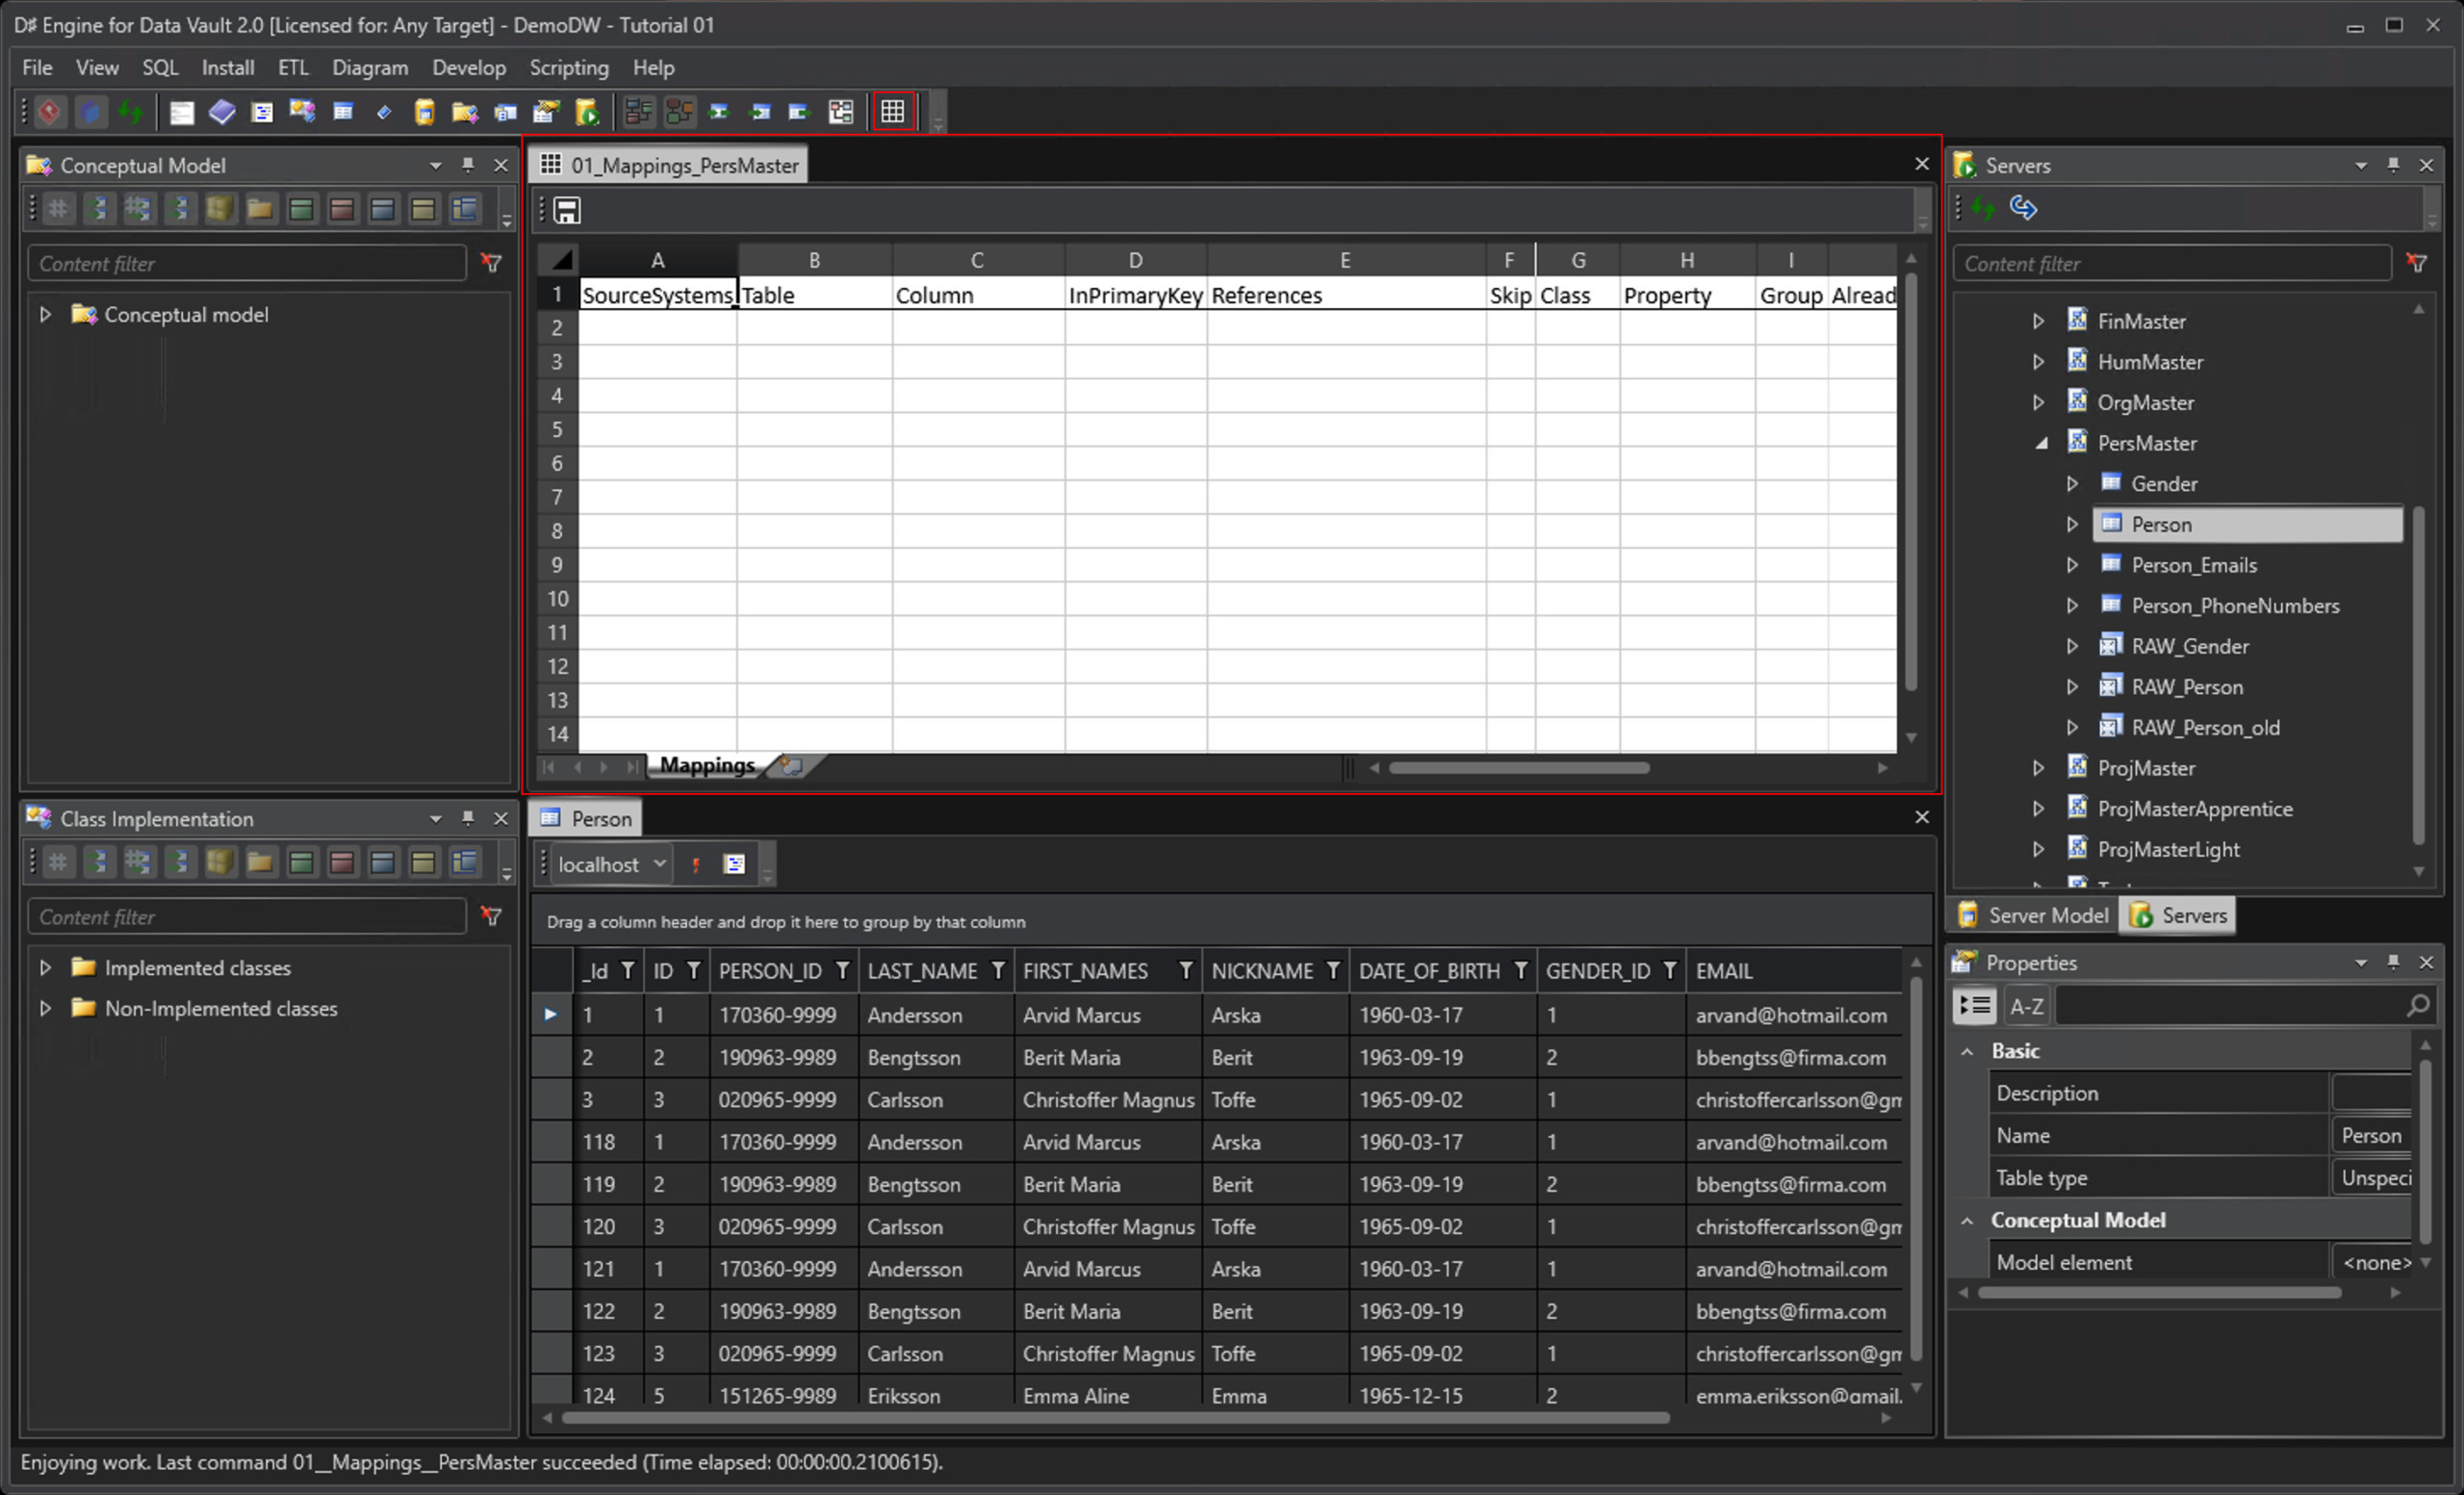
Open an existing or create a new Mapping file in D♯ Engine from the Developer menu.
Select Source Columns For Importing / Mapping
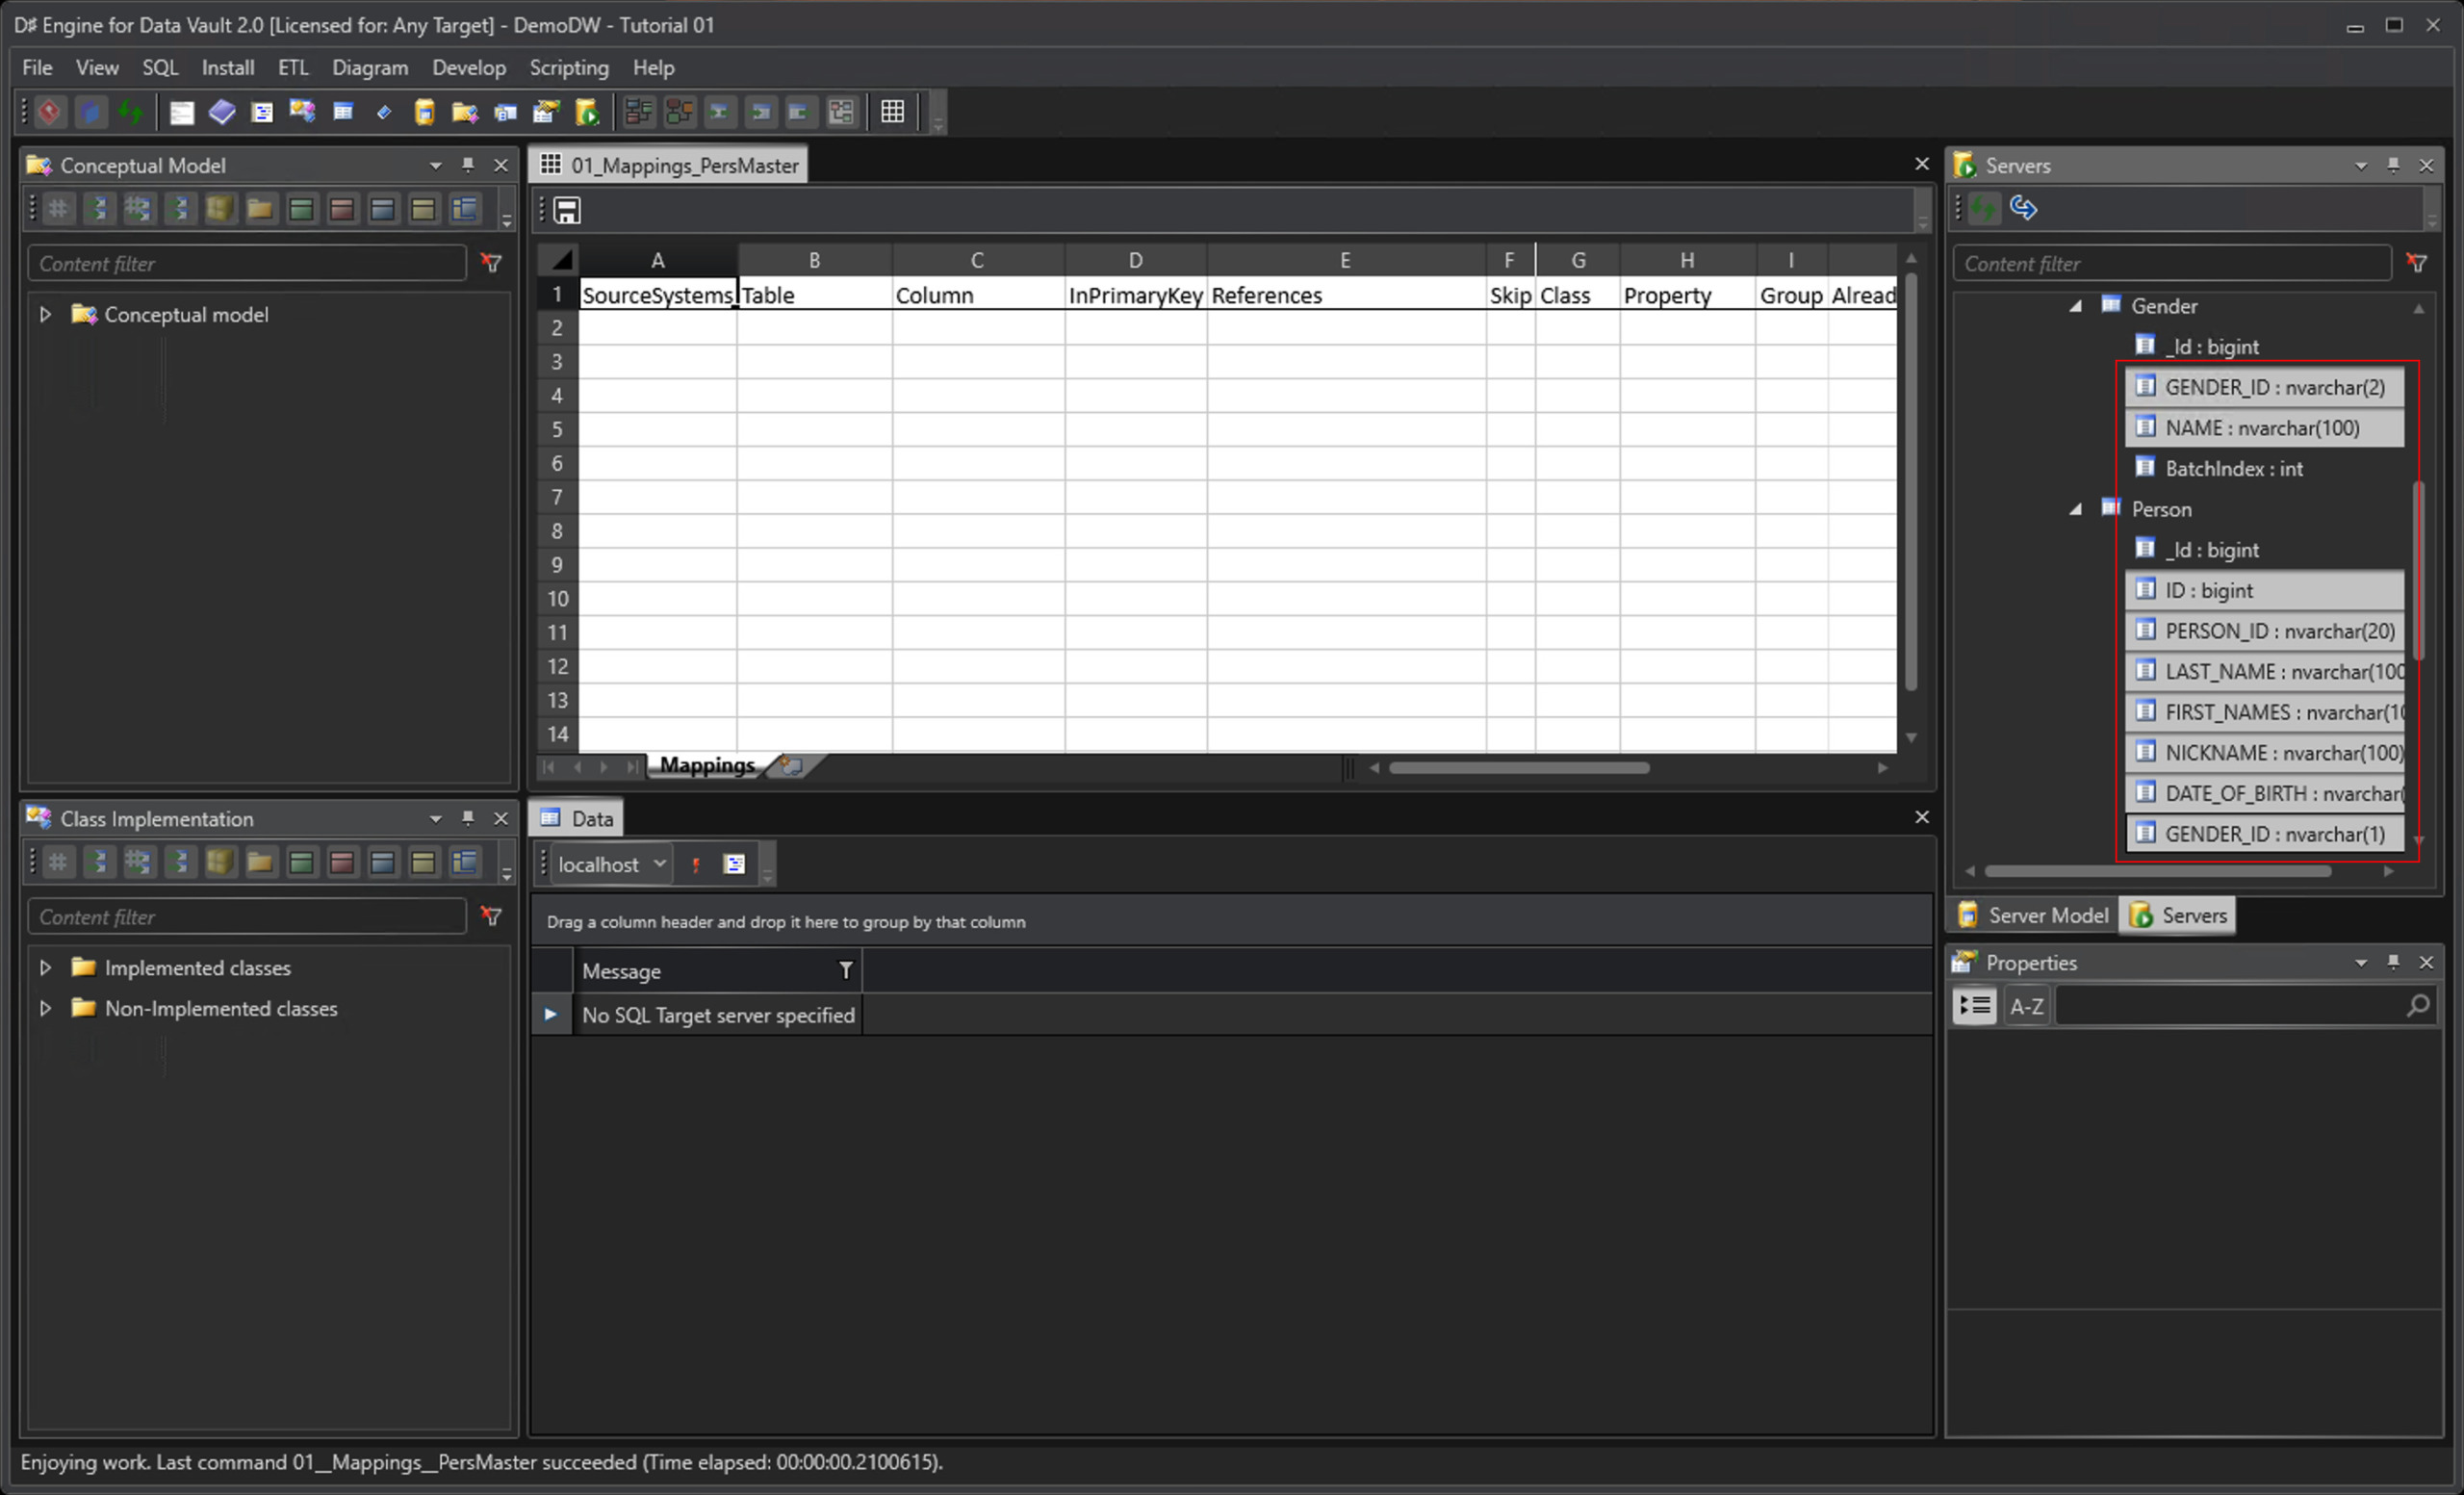
From the Servers pane, select entire tables or ctrl-click on the individual columns you want to map.
Drag Selection Onto Mapping File
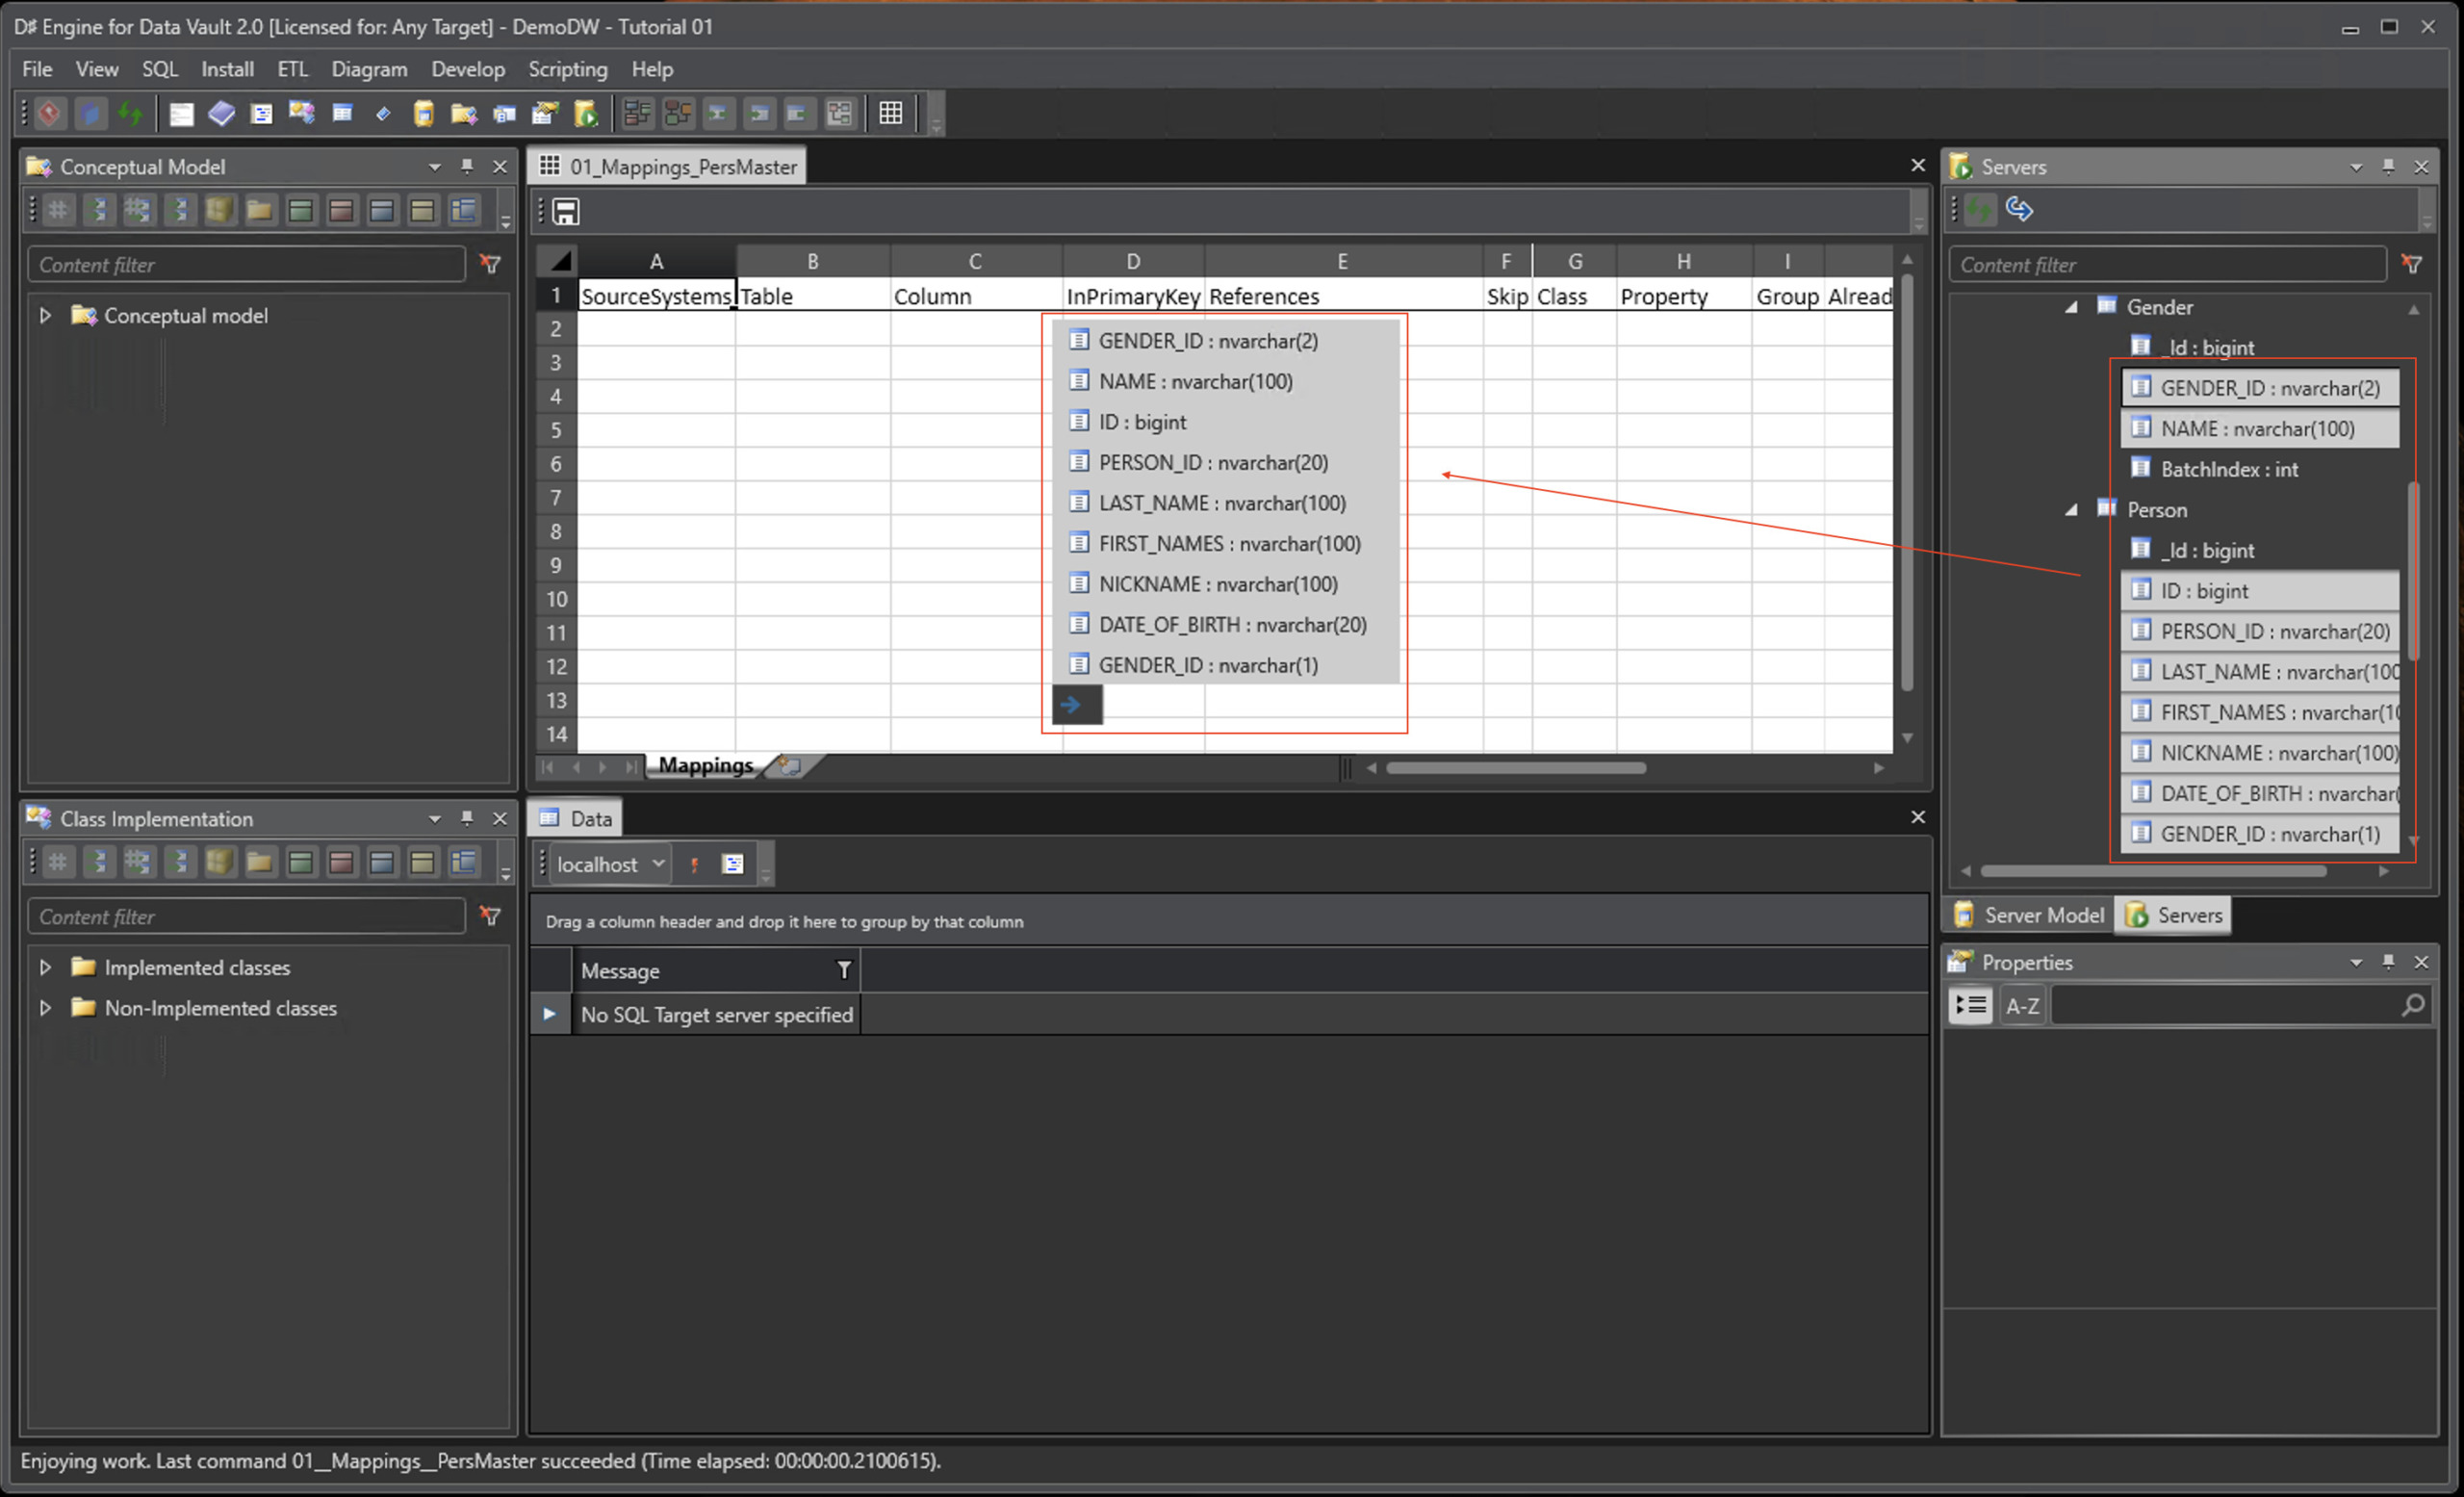
Drag the selection onto the Mapping Editor spreadsheet, and drop onto a suitable location. The dragged content will slip into the correct columns, and should you drop the selection onto existing mappings, you get to choose whether to overwrite them or not.
Select Class Properties To Map To
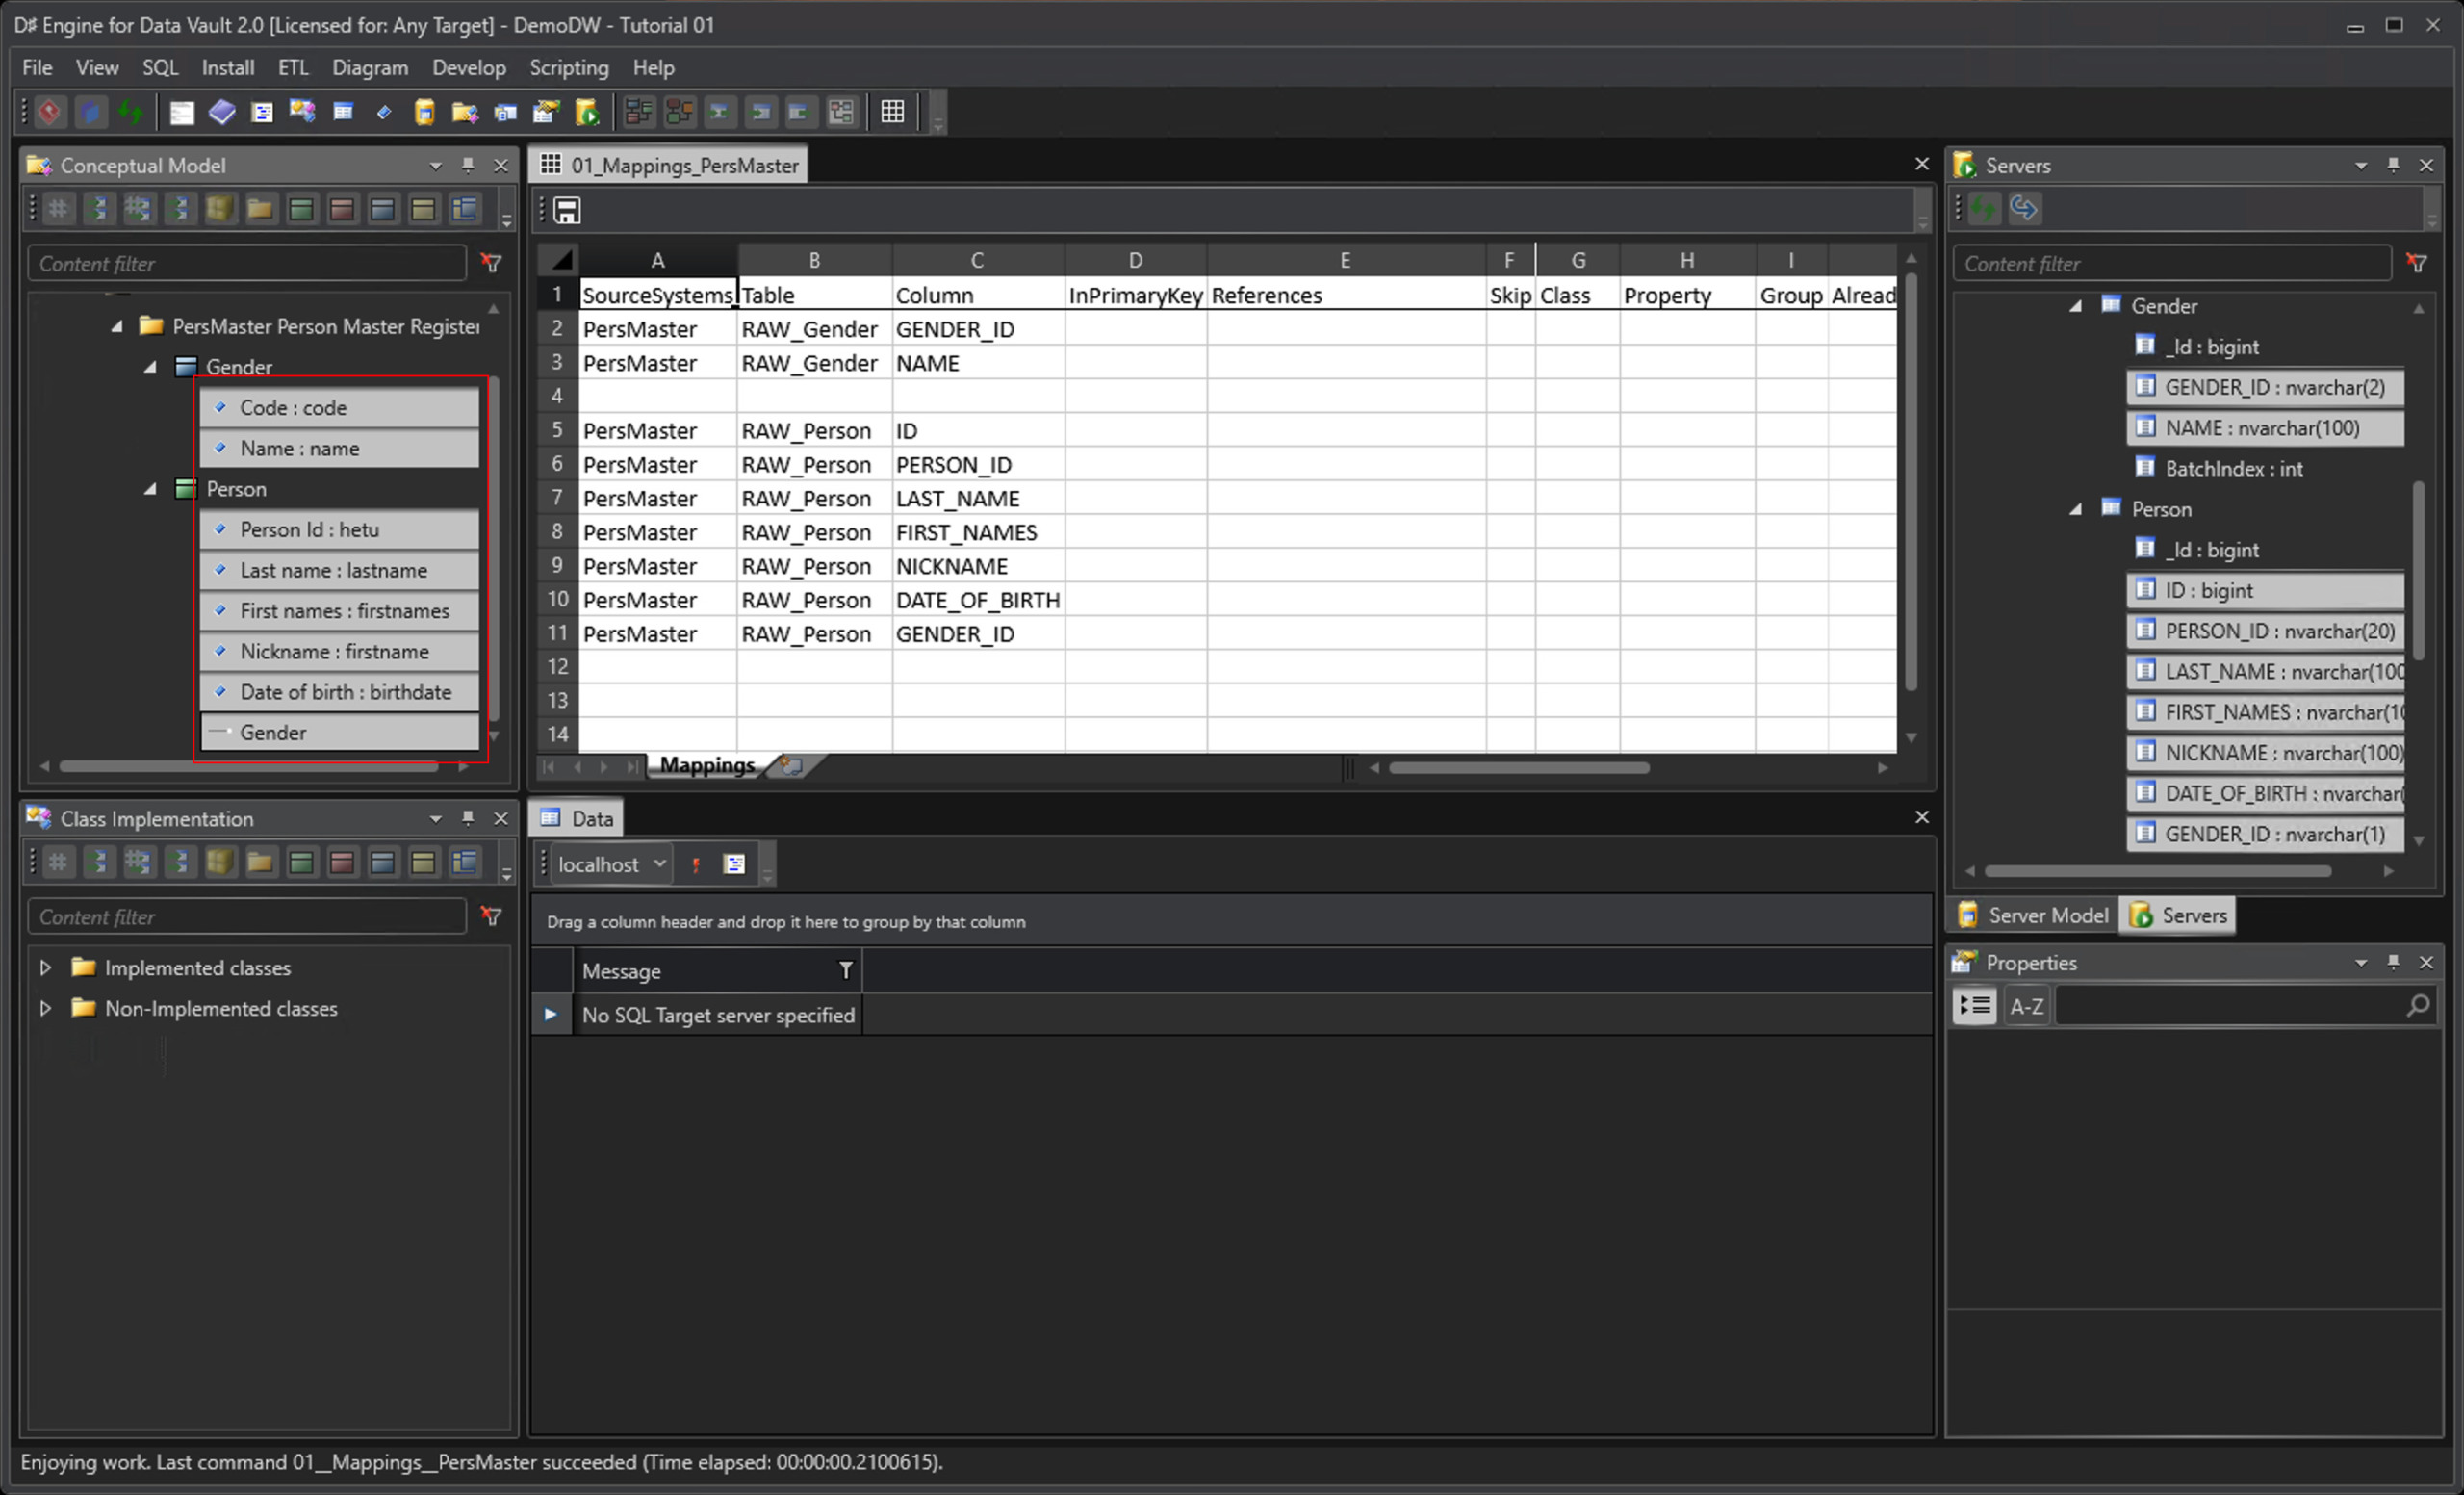
In the Conceptual Model pane, locate the classes to be mapped to, and ctrl-click their properties in the same order as they appear in the mapping file.
Drag & Drop Onto Correct Table Mapping
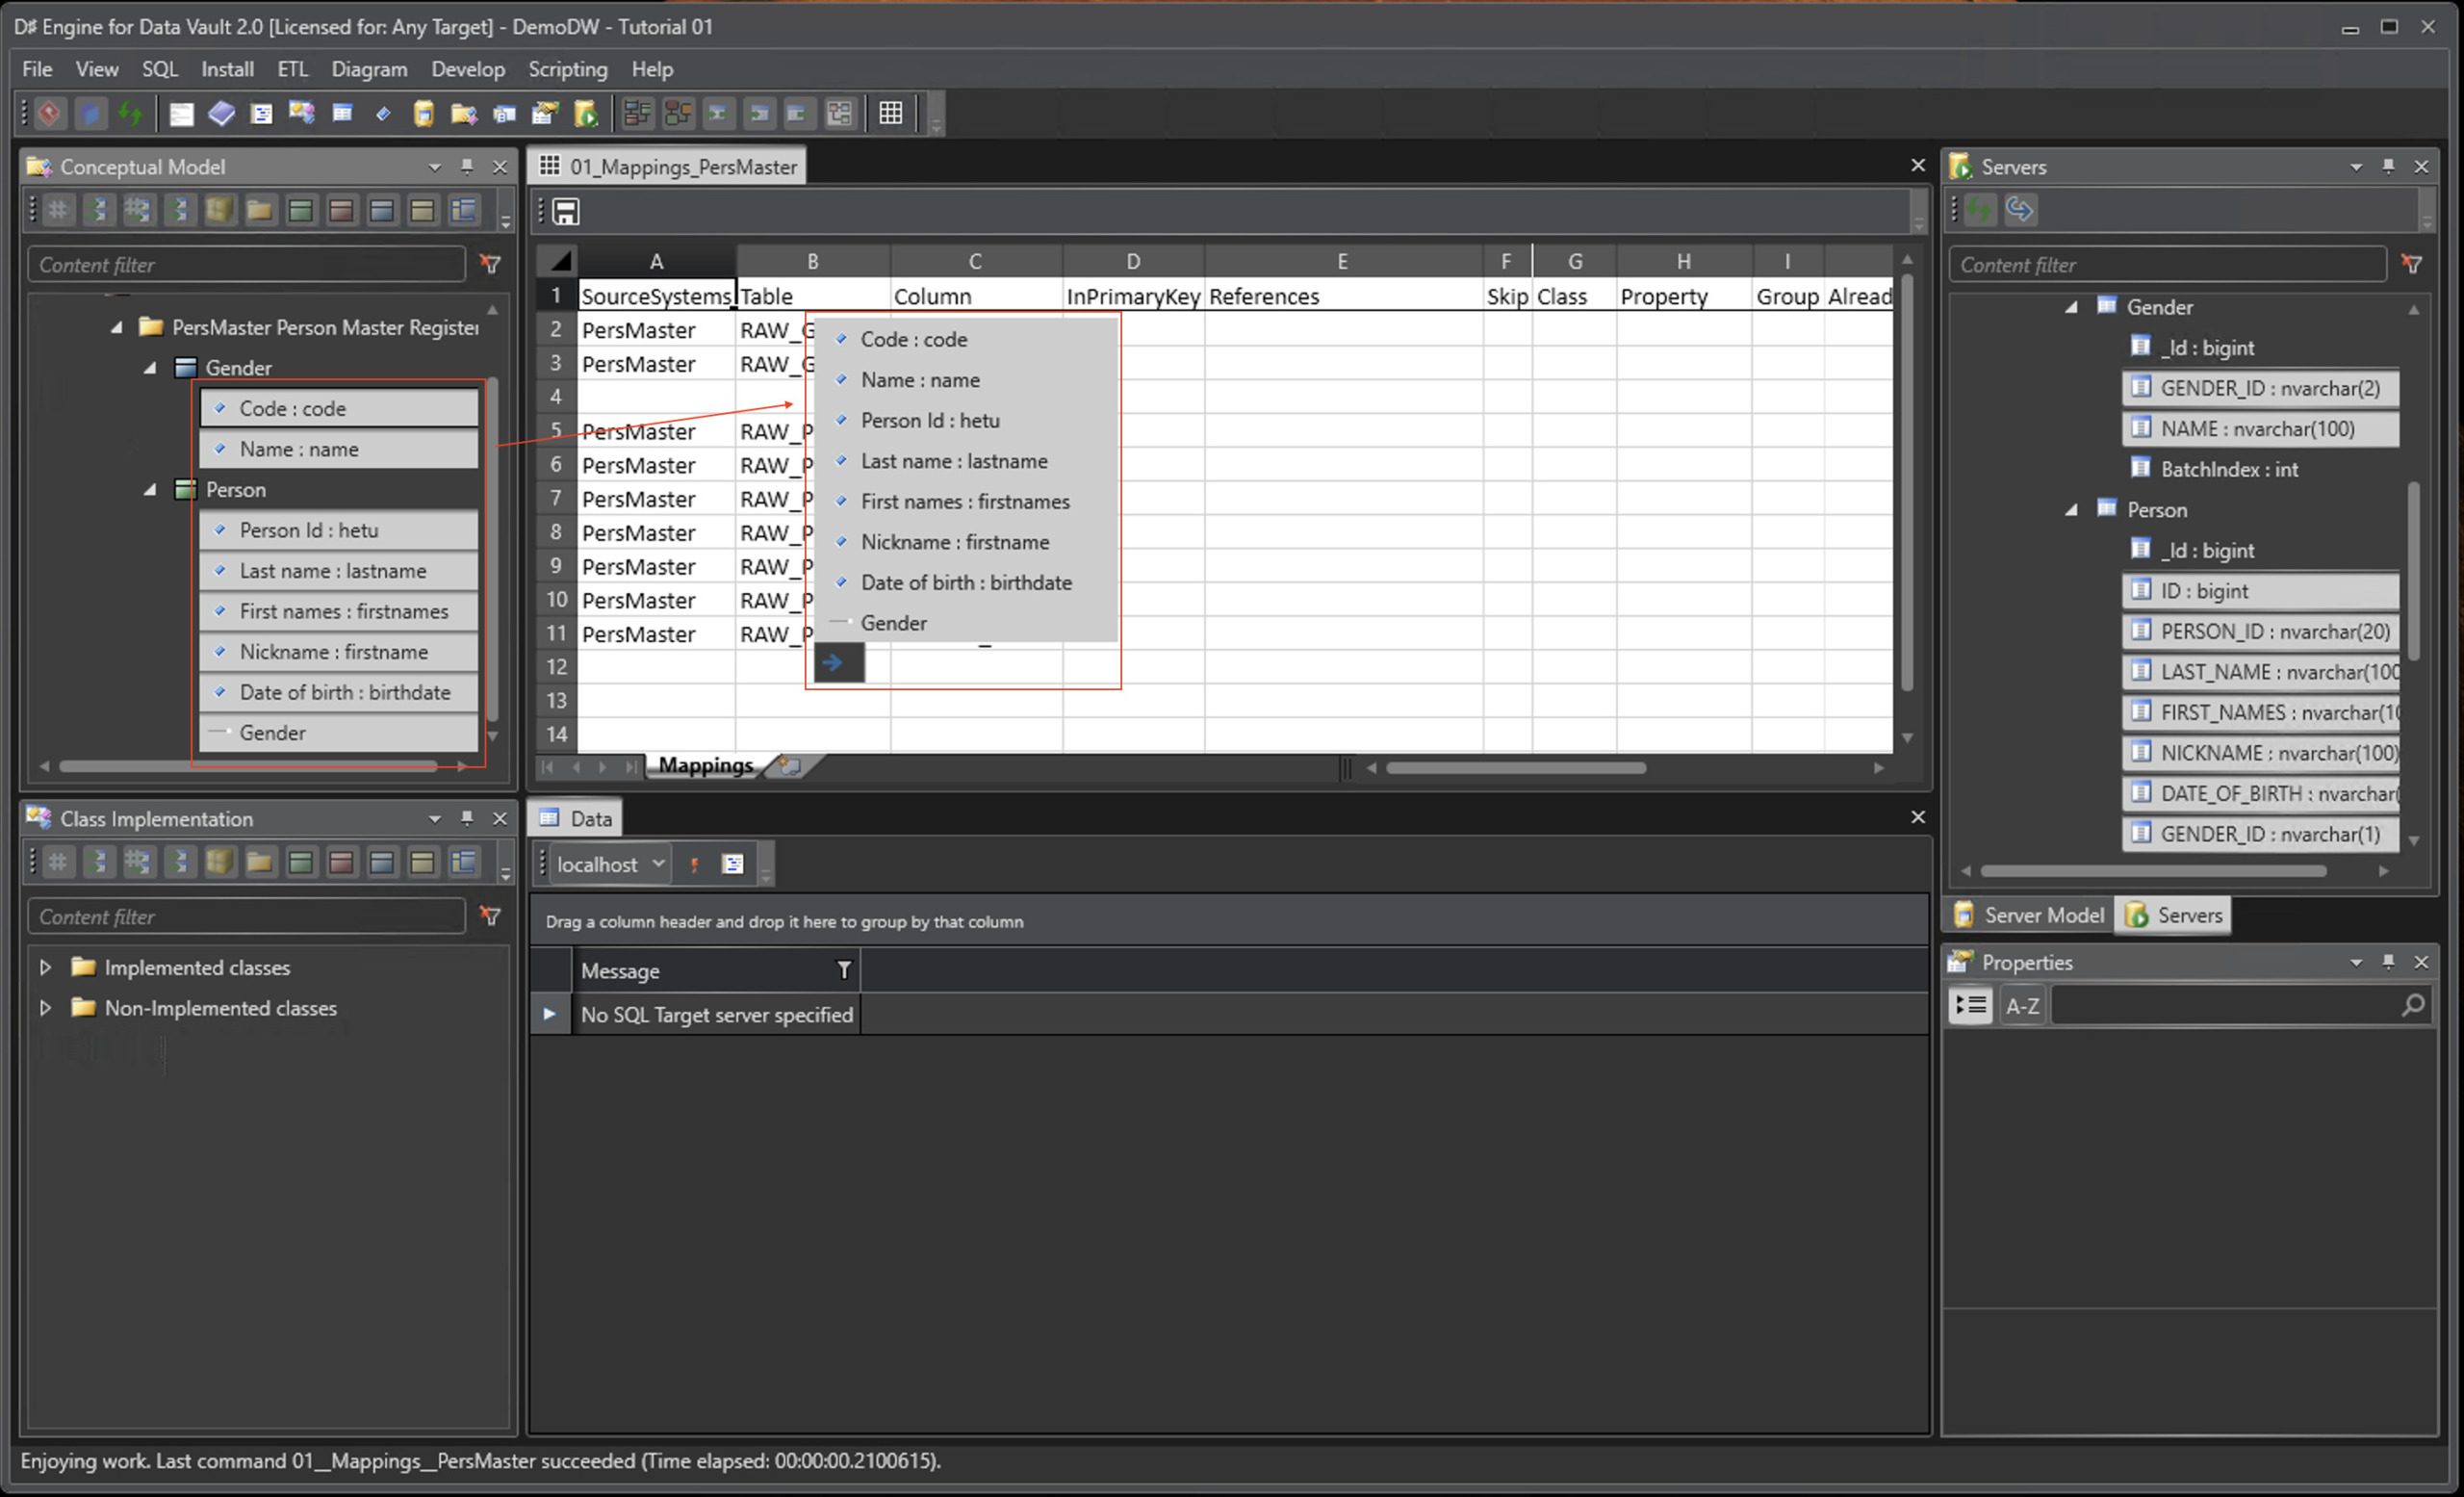
Finally drag them onto the Mapping Editor. Drop them onto the first row that you are mapping. The class data will be added to the correct columns.
Finalize, Save And Refresh
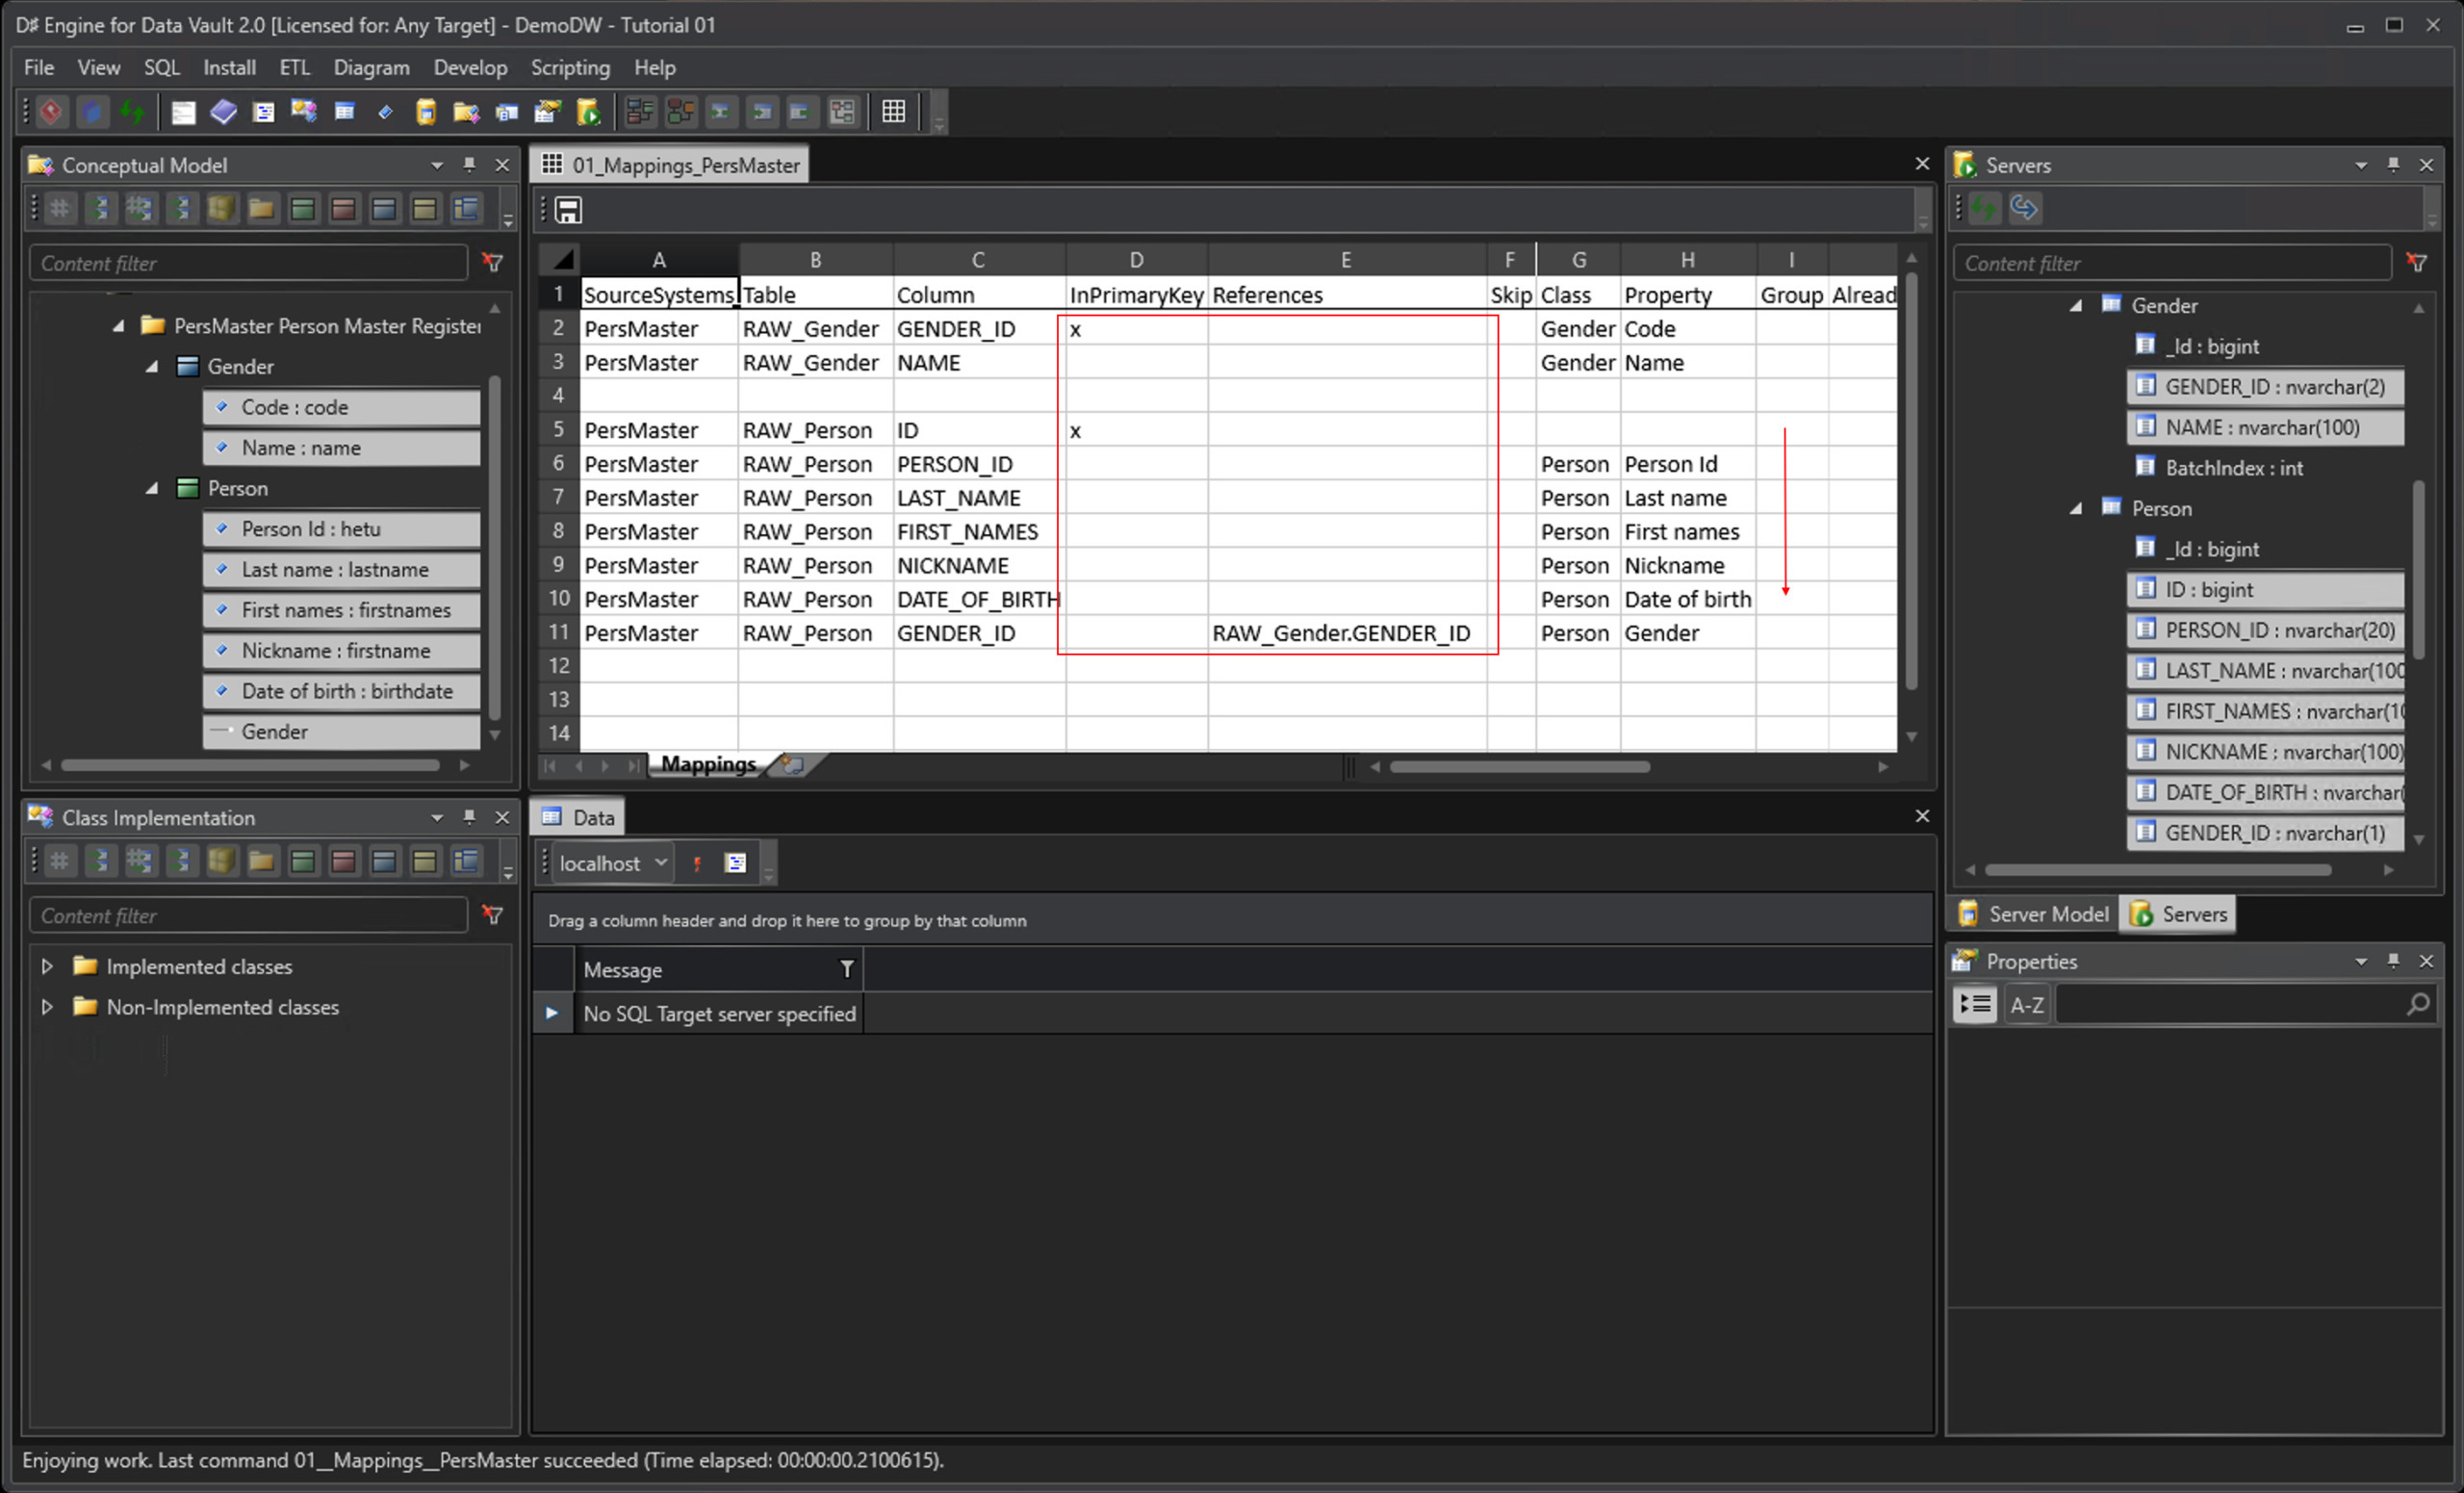
Adjust and complement the mappings by making manual edits where necessary.
Finally
- Save the mapping file by clicking on the Save-button in the Mapping editor’s toolbar.
- To apply the mappings to the model, you will need to refresh the project.